Monthly Archives: May 2016

Light paths at events with candle flares

Flares and bamboo torches are perfect for those special outdoor summer occassions. Why not decorate our garden torches with roses to lighten up the
paths to your wedding venue?
                                                        Garden torch for WeddingGarden torch for WeddingGarden torch for Weddingbamboo torch replacement wick

We sell replacement wicks for the bamboo torches at £3.60 for a pack of two. The
are available in three heights, 65cm, 120cm and 140cm.

You fill the torches with lamp oil and they will burn will a bright flame for hours.
Use either plain lamp oil or our citronella scented lamp oil.
If you want colour try our trumpet flares which come with a wonderful choice of summer colours.  They burn for approximately 5 hours, which is a long lasting time for a garden flare!

trumpet garden flares

wedding venue with bamboo flare

Outdoor candle ideas – summer is finally here

Thank goodness the sun seems to have arrived and we can start the glorious season of barbeques again.  We have a huge range of citronella candles, outdoor hurricane lamps bamboo torches and garden flares, well worth a look at our outdoor candle section.

I will do some blogs on our flares and citronella candles and hurricane lamps  soon, but today I just want to hightlight a couple of T light holders newly added to our site which are ideal for the garden.  Of course the great promblem with garden candle light is the wind, so any candle holder which shields the flame is
ideal.
jute bolsius holder                          relight holder
Both these candle holder fit the bill perfectly.  The one of the left has a jute base and the one on the right concrete.  The concrete based one is designed to be used either with a t light or our wonderful coloured plastic refills which burn for about 24 hours and available in 8 colours.


turquoise refill candlesPink Refill Candles

Our refill candles, which come in a 8 different colours can be found in our T light Section


How to burn candles…

Ok. I know light a match and sit back and relax!!  Actually all candles  burn differently and apart from safety considerations you
should follow a few simple guidelines to get the most from your candles.

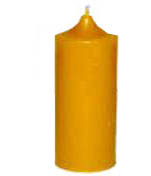
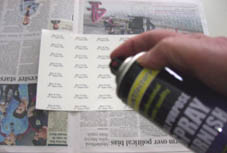
Firstly, Pillar Candles. All candles are no more or less than a controlled fire.  Pillar candles are usually made with an outer layer of wax which is harder and of a higher melting point than the inner wax which forms a shell as the candle burns down.

To make sure your candle can be easily relit and does not smoke or drip we advise the following:-

1. First, be sure you are burning your pillars out to within 1/4 inch of the sidewall (edge). Otherwise, you run the risk of “tunnelling” your candle. Most manufacturers recommend burning your candle for about 2 hours  in diameter – thus a 60mm diameter candle should burn for about 6 hours before extinguishing,  . Aways leave the candle alight for long enough for the pool of wax to reach the outer edge of the candle. If you do not do this the candle will probably smoke when you relight it.  If you candle tunnels and you are left with a tall wax wall, trim the excess wax off whilst is is still warm but with the candle unlit.
2. After putting the candle out always make sure the wick is upright and in the middle of the candle. The best way of extinguishing a candle is to dip the wick down into the wax and lift it back up again.
3. Never leave foreign objects, such as used matches, in the candle, They can burn like a wick and both ruin the candle and
be dangerous,
4. Never put pillar candles too close together. always leave at least 2 cms between each candle.
5. If the flame of the candle flares out at the top it is smoking. Take a pair of scissors and trim the wick.
6. Always put candles on suitable holders and make sure that the surface they are on is level.
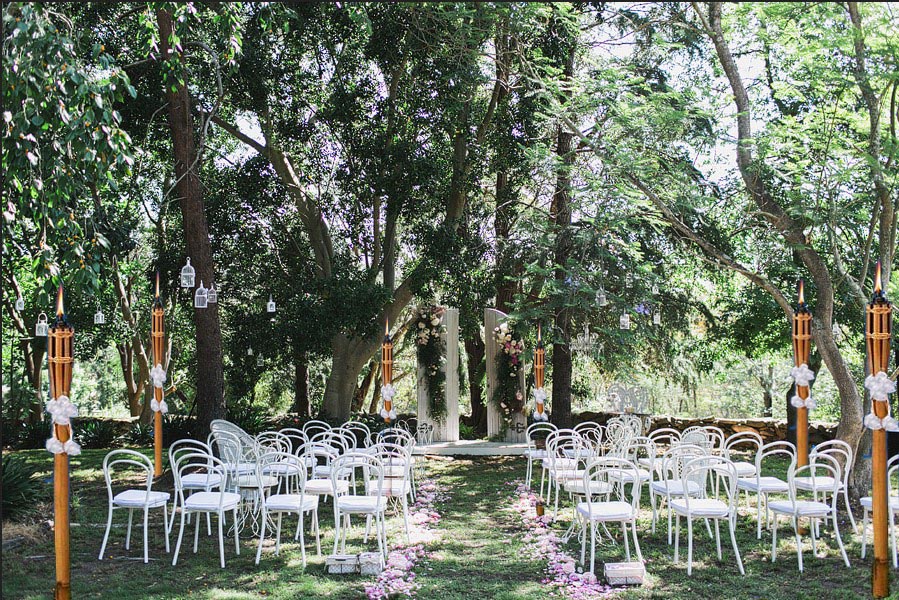
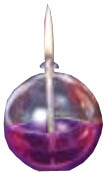
7. Do not burn in a draught.how-not-burn-candles
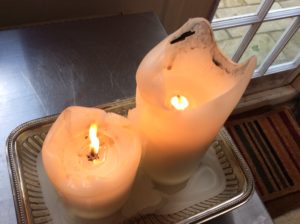
The above picture shows how NOT to do it.
a. The candles positioned too close together.
b. Old matches have been left in the candle.
c. The candle on the left is smoking (notice the flame is flared out at the top).
d. The candle on the rights has tunnelled.

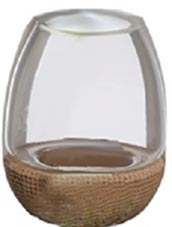
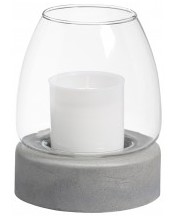
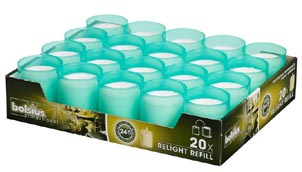
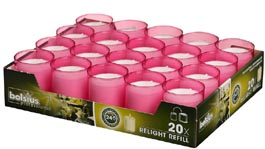
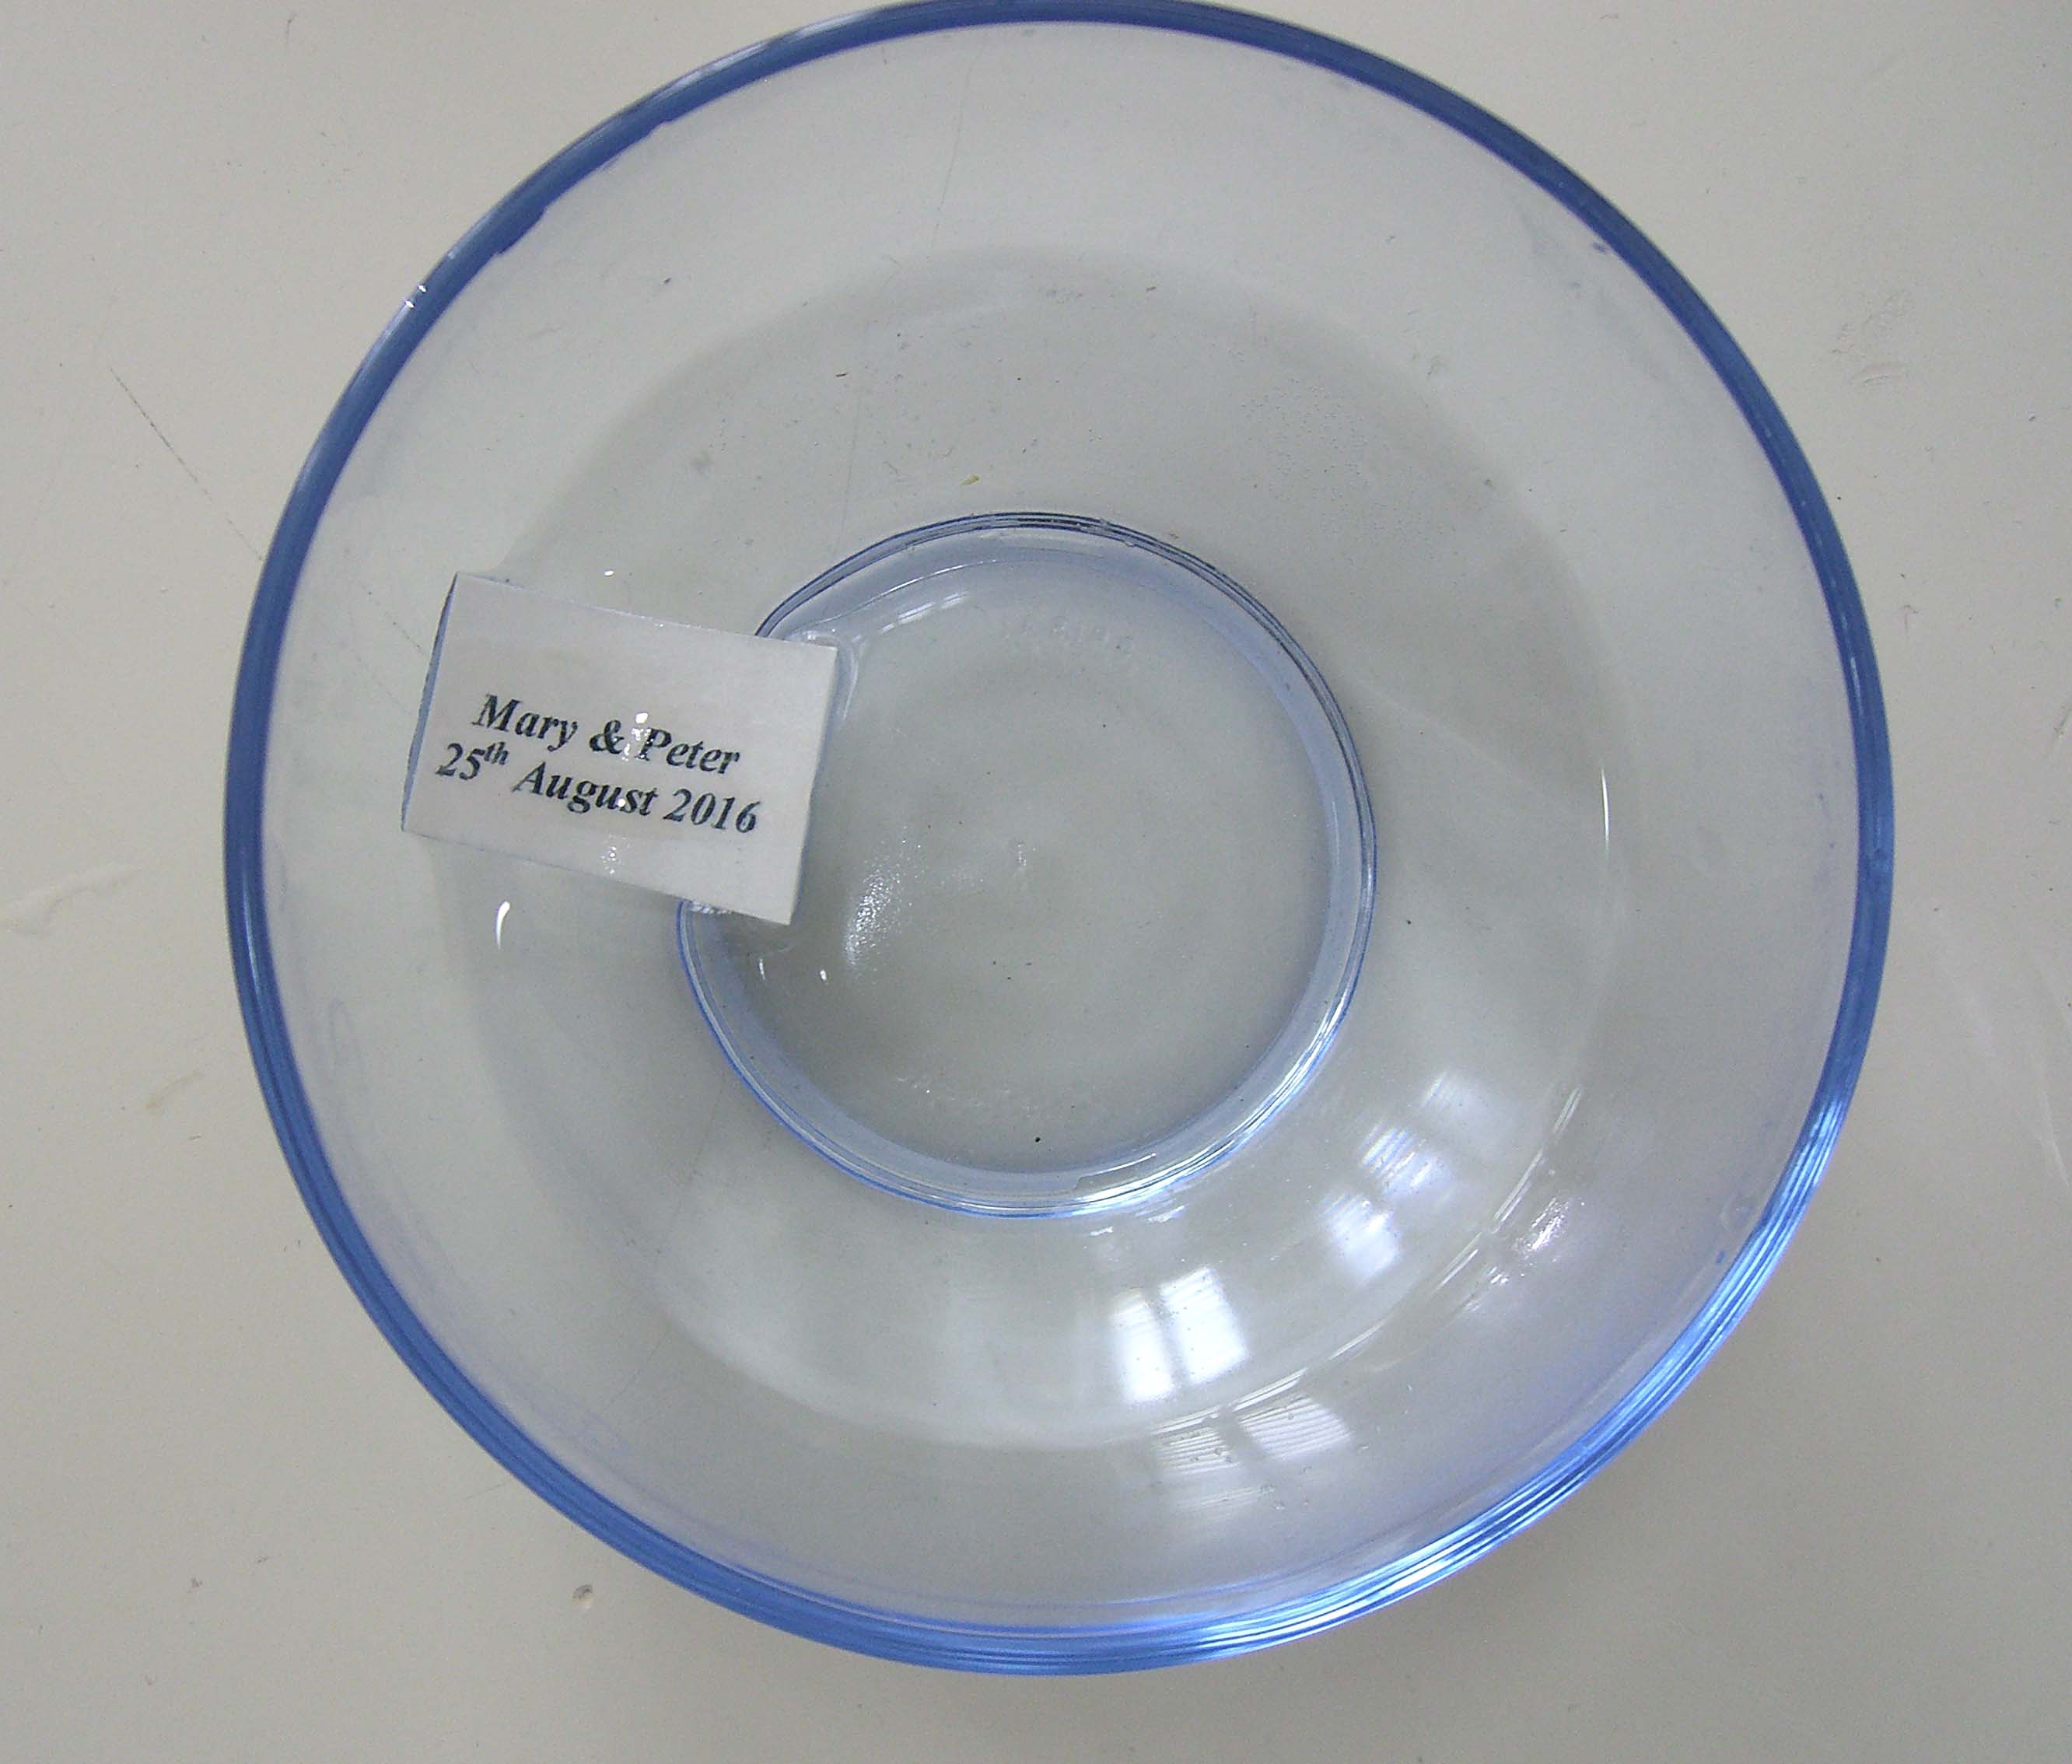
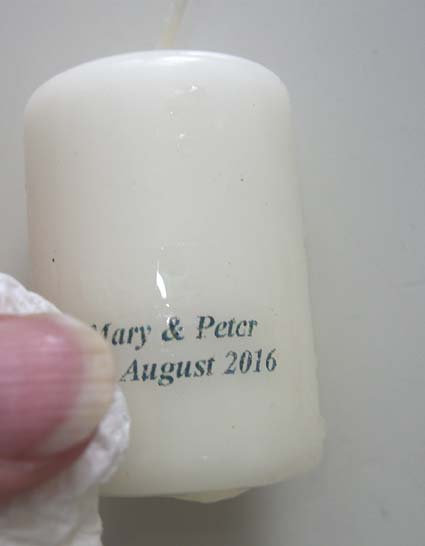
How to burn container candles.
1. For best results let the candle burn long enough so that it is within 10mm from the edge of the glass or tin.
2. Keep the wick trimmed to no more than 1cm.
3. Container candles are best when not burnt for much more than four hours at a time.
4. Throw them out when there is about 10mm left in the bottom of the container, this prevents the bottom becoming too hot.
5. Always burn on a level surface.
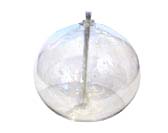
6, If putting a candle into a glass jar or hurricane lamp always make sure than you clean out any wax when you remove the candle. Putting a candle onto old wax will mean the candle may not be level.  If a flame touches the edge of the glass the glass will break!

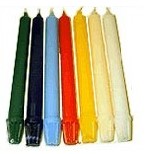
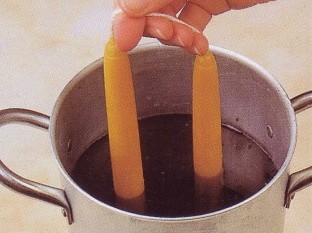
How to burn Dinner Candles
1.
Always use a suitable candle holder.
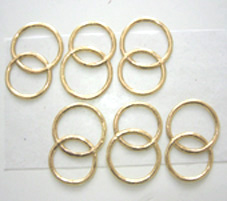
2. Never burn in a draught – they will drip.  We do sell drip rings which are great if you cannot avoid a bit of a breeze.  If you buy our classic self fitting candles then you can use our candle followers which shade the flame as the candle burns down and prevents dripping.
3.Keep the wick trimmed.

Self fitting classic candles

Self fitting classic candles

Candle gutterer

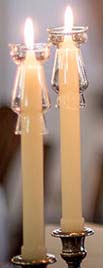
Candle gutterer or follower
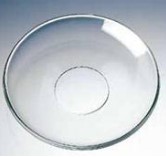
Candle drip ring

Candle Drip Ring


How to make solid beeswax candles

Beeswax candle are much sought after and make wonderful presents.  I love their
smell and their smooth texture.  Pillar candles, unlike dinner candles, will really give off that wonderful honey smell as there will be a pool of wax to diffuse the scent.  Tapered candles give off much less scent.
beeswax handipped                 handipped beeswax        beeswax handipped

Firstly, Handipped beeswax candles:
The drawback of making these is that you have to have quiet a lot of beeswax, which is expensive.   The great thing about making them is that when you use beeswax you will get thicker layers than when you use paraffin wax.  You will need a tall dipping can and some 1″ wick.  (You can use an oil tin such as an oil tin; cut off the top and make sure it is thoroughly clean. Put tape round the top of the can to ensure that it is safe and you cannot cut yourself on its edge.  Then place in a water bath. NEVER heat wax directly over your heat source).  Each candle will need between 7 and 10 dips.   Dip them with a smooth arm action.  Leave time between dips for the wax to cool. When finished hang them up so they are separated.  They may bend if you do not make sure that they completely set before standing them upright.

How to Make Solid Beeswax Pillar Candles
                                               Solid beeswax pillar candle

Beeswax does not contract and can be impossible to get out of the mould.    However use cooking oil which is a natural release agent and works wonders in steel or plastic moulds. Rub a thin layer onto the inside of the mould with a soft, lint-free cloth   Stand the mould upside down on an old newspaper to let the excess oil drip away. Give it a final rub with a soft cloth.   Alternatively I have used cooking oil sprays quite effectively.   Set your mould up using a wick 1/2 larger than usual. Then set your mould up in the usual way.  Heat the beeswax in a double boiler and pour your candle at approximately 185 F.  When you top it up make sure that you are very careful not to top it up over the original level of the candle.
NB You can add stearin to the beeswax to make it harder if you wish.  

How to make beeswax candles in a rubber moulds.

Rubber mould are very well suited to beeswax and of course you can extract them easily.  You will find instructions for using rubber moulds here

How to make beeswax candles in glass dinner candle moulds
We suggest you dont try this, as the candle may be very difficult to remove. Handip instead!

.


How to use oil and oil lamps

How to use  Oil Lamps and Pure Refined Lamp Oil.

1. Lamp Oil. Our pure refined lamp oil is very clean and long burning. It is impossible
to give an accurate burning time as much will depend on the size of the wick etc. However as a very rough guide about .05 of a litre will burn about 1 hour, so it is a very economical way of giving out a warm flickering light. Pour it carefully into your oil lamps, we sell a small plastic funnel which makes it easier.

small round oil lamp           glass-covered-wick          

2. Wicks. Candles on the web sell a variety of wick for oil lamps. Make sure
that the wick is always dry. It should be about 2-3mm above the wick holder. This is not
artibitary but gives an idea. You will soon see once lit if the lamp is burning with too small or large a flame. Every now and again if carbon has accumulated on the top trim it slightly.
If you find it difficult threading a new wick through its container stiffen it by wrapping celloptape around the top. Make sure you  remove the celloptape before you light the lamp!

3. Coloured Lamp Oil. Since 2009 the EU has forbidden the sale of coloured lamp oilin bottles. However we sell small bottled of coloured tint which are great, especially since you can mix the colours
N-Oil-tints                      lamp with coloured oil


4. We do not advise scenting the oil in any way as scented oil burnt in an oil lamp does not produce much scent! This is because in order for the scent to diffuse you would need a well of hot oil which of course an ordinary oil lamp does not have as the oil burns straight off the wick.

How to make your own wedding favour candles

A1smallgoldringThis is really easy, and economical!  This shows a 60 x 40mm bulk buy candle, which work out at just 38p each, a gold applique wax ring which costs .65p and two sheets of water slide decal paper which will add £2,00 to the total, making a wonderful personalised wedding favour for only £1.23!!  So- lets begin….

The first thing to do is to print out your labels using an ink jet printer and our decal paper.
For those of your who are not that computer literate open up Word. Then go to file and start a new document.  Then click the mailing tab at the top, then the label icon.  Choose the size of the label you need, how many rows and columns.  Now type in your names and the wedding date in one label and centre it. Then all you have to do is copy and paste to fill out the entire sheet.

Laels for Wedding Favours   lanbels for candle wedding favours cutting the water slide transfer  spraying varnish deca                                 

soaking-the-decal   decal onto candle  smoothing-the-decal-on-candlewax-gold-ring


Once printed spray the sheet with any matt varnish.  We do not sell this but you can buy it in any craft shops.  I buy mine from Amazon and it costs around £4.00 a can.  Wait until the varnish is dry (the purpose of the varnish is to prevent the ink smudging). Then soak the label in a bowl of water for a few minutes. Take it out of the bowl and  gently slide it off its backing onto the candle.  Smooth out any bubbles or creases gently with a soft cloth or tissue.

Ok, that is  it apart from gently taking a gold ring wax applique  from its backing and pressing it  firmly onto the candle.  They will look really prettyon your weddking tables either on your own, or you can put them in a small organza bag.

One last point!  Of course you  do not have to use the smallest candle, any size will do.  Also the same technique looks great as a wedding table centerpiece!

Please Visit our Candle Wedding Favour Page