Monthly Archives: July 2016

How to remove wax stains

If you have been careless with your candles and not yet read our guide to candle burning, you may be left with stains on either your clothing, tablecloths or carpets or wooden flooring.   Do not despair!  It is usually possible to completely remove the wax.
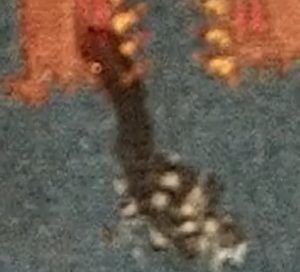
wax on carpet
1.  Let the wax cool.  If possible put your clothing in the fridge, if it is on a carpet do not touch it until it is absolutely cold.  If it is a carpet or wooden floor a bag of ice cubes or frozden peas on the stain first will help!

2. If it is on wooden flooring it may work to wipe the wax off with a cloth dampened with rubbing alcohol (test a small area first in case it affects the wood varnish).   If not proceed as if it is a carpet, making sure you never leave the iron on the surface long enough to burn the wood.

  1. Scrape off all the wax you can.It helps if it is on material or scrunch it up in your hand and then prise all the wax you can see off. If it is on a carpet gently scrape off the excess wax with a knife (or plastic spatula if the spillage is on a wooden floor).
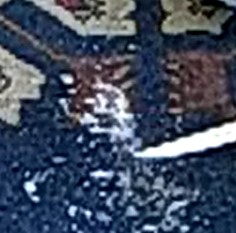
    scraping wax off carpet

    4. Iron out the wax remaining.  Do this buy using either paper towel or blotting paper.  Place several layers of paper towel underneath the material. (of course you cannot do this if it is a carpet).  Then place paper towel over the wax and iron the wax stain.  The wax will be drawn up into the tissue and
    you will have to do it several times, replaying the paper towel as you go, before the wax has completely removed.  Keep going until there is no more wax left on your paper towel.
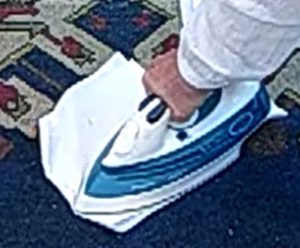
    Ironing stain from carpet

5. Depending on the colour of the wax you now may or may not be left with a residual stain of the dye used in making the candle.  If on material most stain removers should get it off, then wash as normal.  If on white material you can use diluted bleach to help it on its way.  If on a carpet you will have to try a carpet stain remover, which may work. No guarantees.

carpet wax stain cleaned

Refillable Wax Lantern Candles

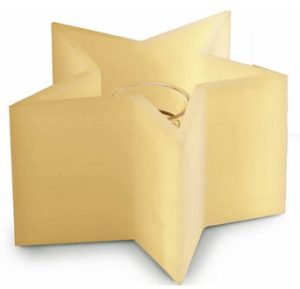
How often have you bought a really beautiful candle only to see it disappear before your eyes!   We have just imported a spectacular new range of original wax lantern candles .  The larger ones are really impressive and the great thing is that you refill them with a T light and they last for ever!
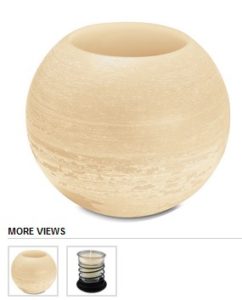
star wax lantern candleround wax lantern lg
The two largest wax lanterns are the star and the large ball.   The largest star is an impressive 23cm wide by 13cm deep and the largest globe 20cm in diameter.
They come with a spring holder which holds a glass into which you can put either a T light or one of our plain white votive candles (also available from our bulk discount section).

They form a really impressive centrepiece and make a great present.   The great thing about them is you get a genuine warm candle glow and know that they will keep their wonderful shape and never burn down.
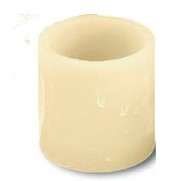
cylindrical wax lantern
They also come in smaller sizes and shapes.    Cylinders, squares and a smaller ball. The smaller sizes come with a small metal holder for the T light which is cleverly incorporated with a cork base so that you never have the potential problem of the T light melting through the lantern’s base.
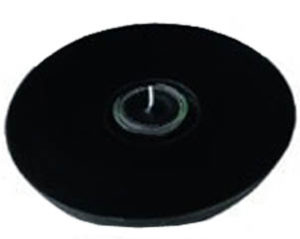
black bowl candle
Last but not least there is a really unusual design in black, a shallow wax bowl available in black or white which you refill with a T light.   For the black one we sell a T light designed for it.

Don’t put your candles in the fridge!

Putting your candle in the Fridge is NOT a good idea.

Why!

The theory is that if you put your candle in the fridge or freezer you will increased its burning time.  Sadly, this not the case.  A candle is not more than a very carefully controlled fire.  The wax is designed to burn at a specific temperature and the wick is chosen so that the wick will burn the wax at an optimum ratio.  So what can go wrong.

  1.  If you put the candle in the freezer it may well crack.
  2.  If the candle is perfumed the scent in the candle may migrate that instead of being evenly distributed around the wax it can move to the sides and top.
    cracked candle fridge

So now you have risked cracking and the scent being ruined and do not mind either is it still worth trying?

Sadly, not.   Basically candles burn slowly.  The only part of the candle which matters is that part which is closest to the wick being burnt at the top.  Once lit wax around the wick will soon reach its normal room temperature.  As the candle to continues to burn down the area of wax that is being burnt will been warmed up to its original temperature ages ago.  It only takes a couple of moments
for the heat from the flame to warm your icy candle to room temperature.
So The few extra minutes of burn time that you might get from putting a candle in the refrigerator isn’t much, and really isn’t worth the effort.

So it is back to basics!  Your candles will burn for longer if you love them and care for them.  Trim their wicks, keep them out of draughts, put them out correctly and burn them for the right amount of time.  Please see our blog on candle burning.

How to use Microwave to Create Scented Candles

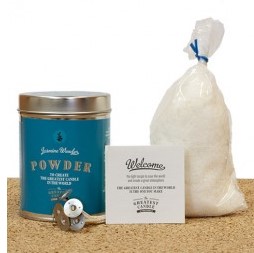
We are introducing an amazing new product which enables you to create beautiful candles using old (or new) cooking oil.   Called the Greatest Candle in the World It comes in a tin which contains scented candle powder, wick holders  and candle wicks and a scoop for measuring the powder.
The greatest candle in the world

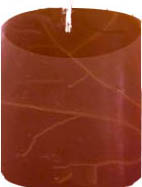
Microwave candle old oil

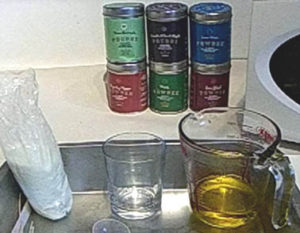
You will also need:-
a. A glass to make the scented candle in.
b. A metal tin or baking tray (just to keep things tidy!)
c) Approximately 100ml Cooking Oil (used or new).
d.A jug or container in a microwaveable material (glass or ceramic). It will be hot when it comes out of the microwave so use a container with a handle.
Making the Candle:-
1)
(only if you are using up old oil, if using fresh cooking oil skip this step).  Filter you oil oil through a coffee filter or small screened colander.  If possible let the oil rest for 24 hours before recycling it to make sure the old particles are separated from the oil.
2. Pour the oil into the jug and pour one heaped scoop of scented wax powder/
3. Microwave for 1-2 minutes on Medium power
4. Using your oven glove remove from microwave and add a further 2 heaped scoops and stir until dissolved.

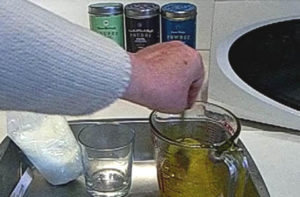
Stirring the microwave candle5.Pour the oil/candle powder mix into your glass.
6. Place the candle wick using the cardboard wick holder into the oil/wax. Be care as the oil will be HOT. Use a pencil or other long object to make sure the wick is placed centrally at the bottom of the glass.
Microwave scented candle 7. Let the candle cool until solid (this does not take long, 5 to 10 minutes).
Now you have a lovely scented candle!  The kit contains enough ingredients to make at least six candles. Please watch our video on you tube