Category Archives: Projects

How to save old wax and make wax melts.

So you have spent a fortune on that special scented candle, and now you are left with a useless glass with some wax at the bottom.  It is really easy to remove the wax and make wax melts from the residue.
You will need
1. A spent scented candle in a glass.
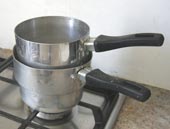
2. A double saucepan or metal bowl over a saucepan of hot water.
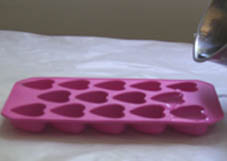
3. A mould for the wax melts, anything will do ice cube tray, bun tin or cake tin.
1st Step.
a.  Remove the old wax.
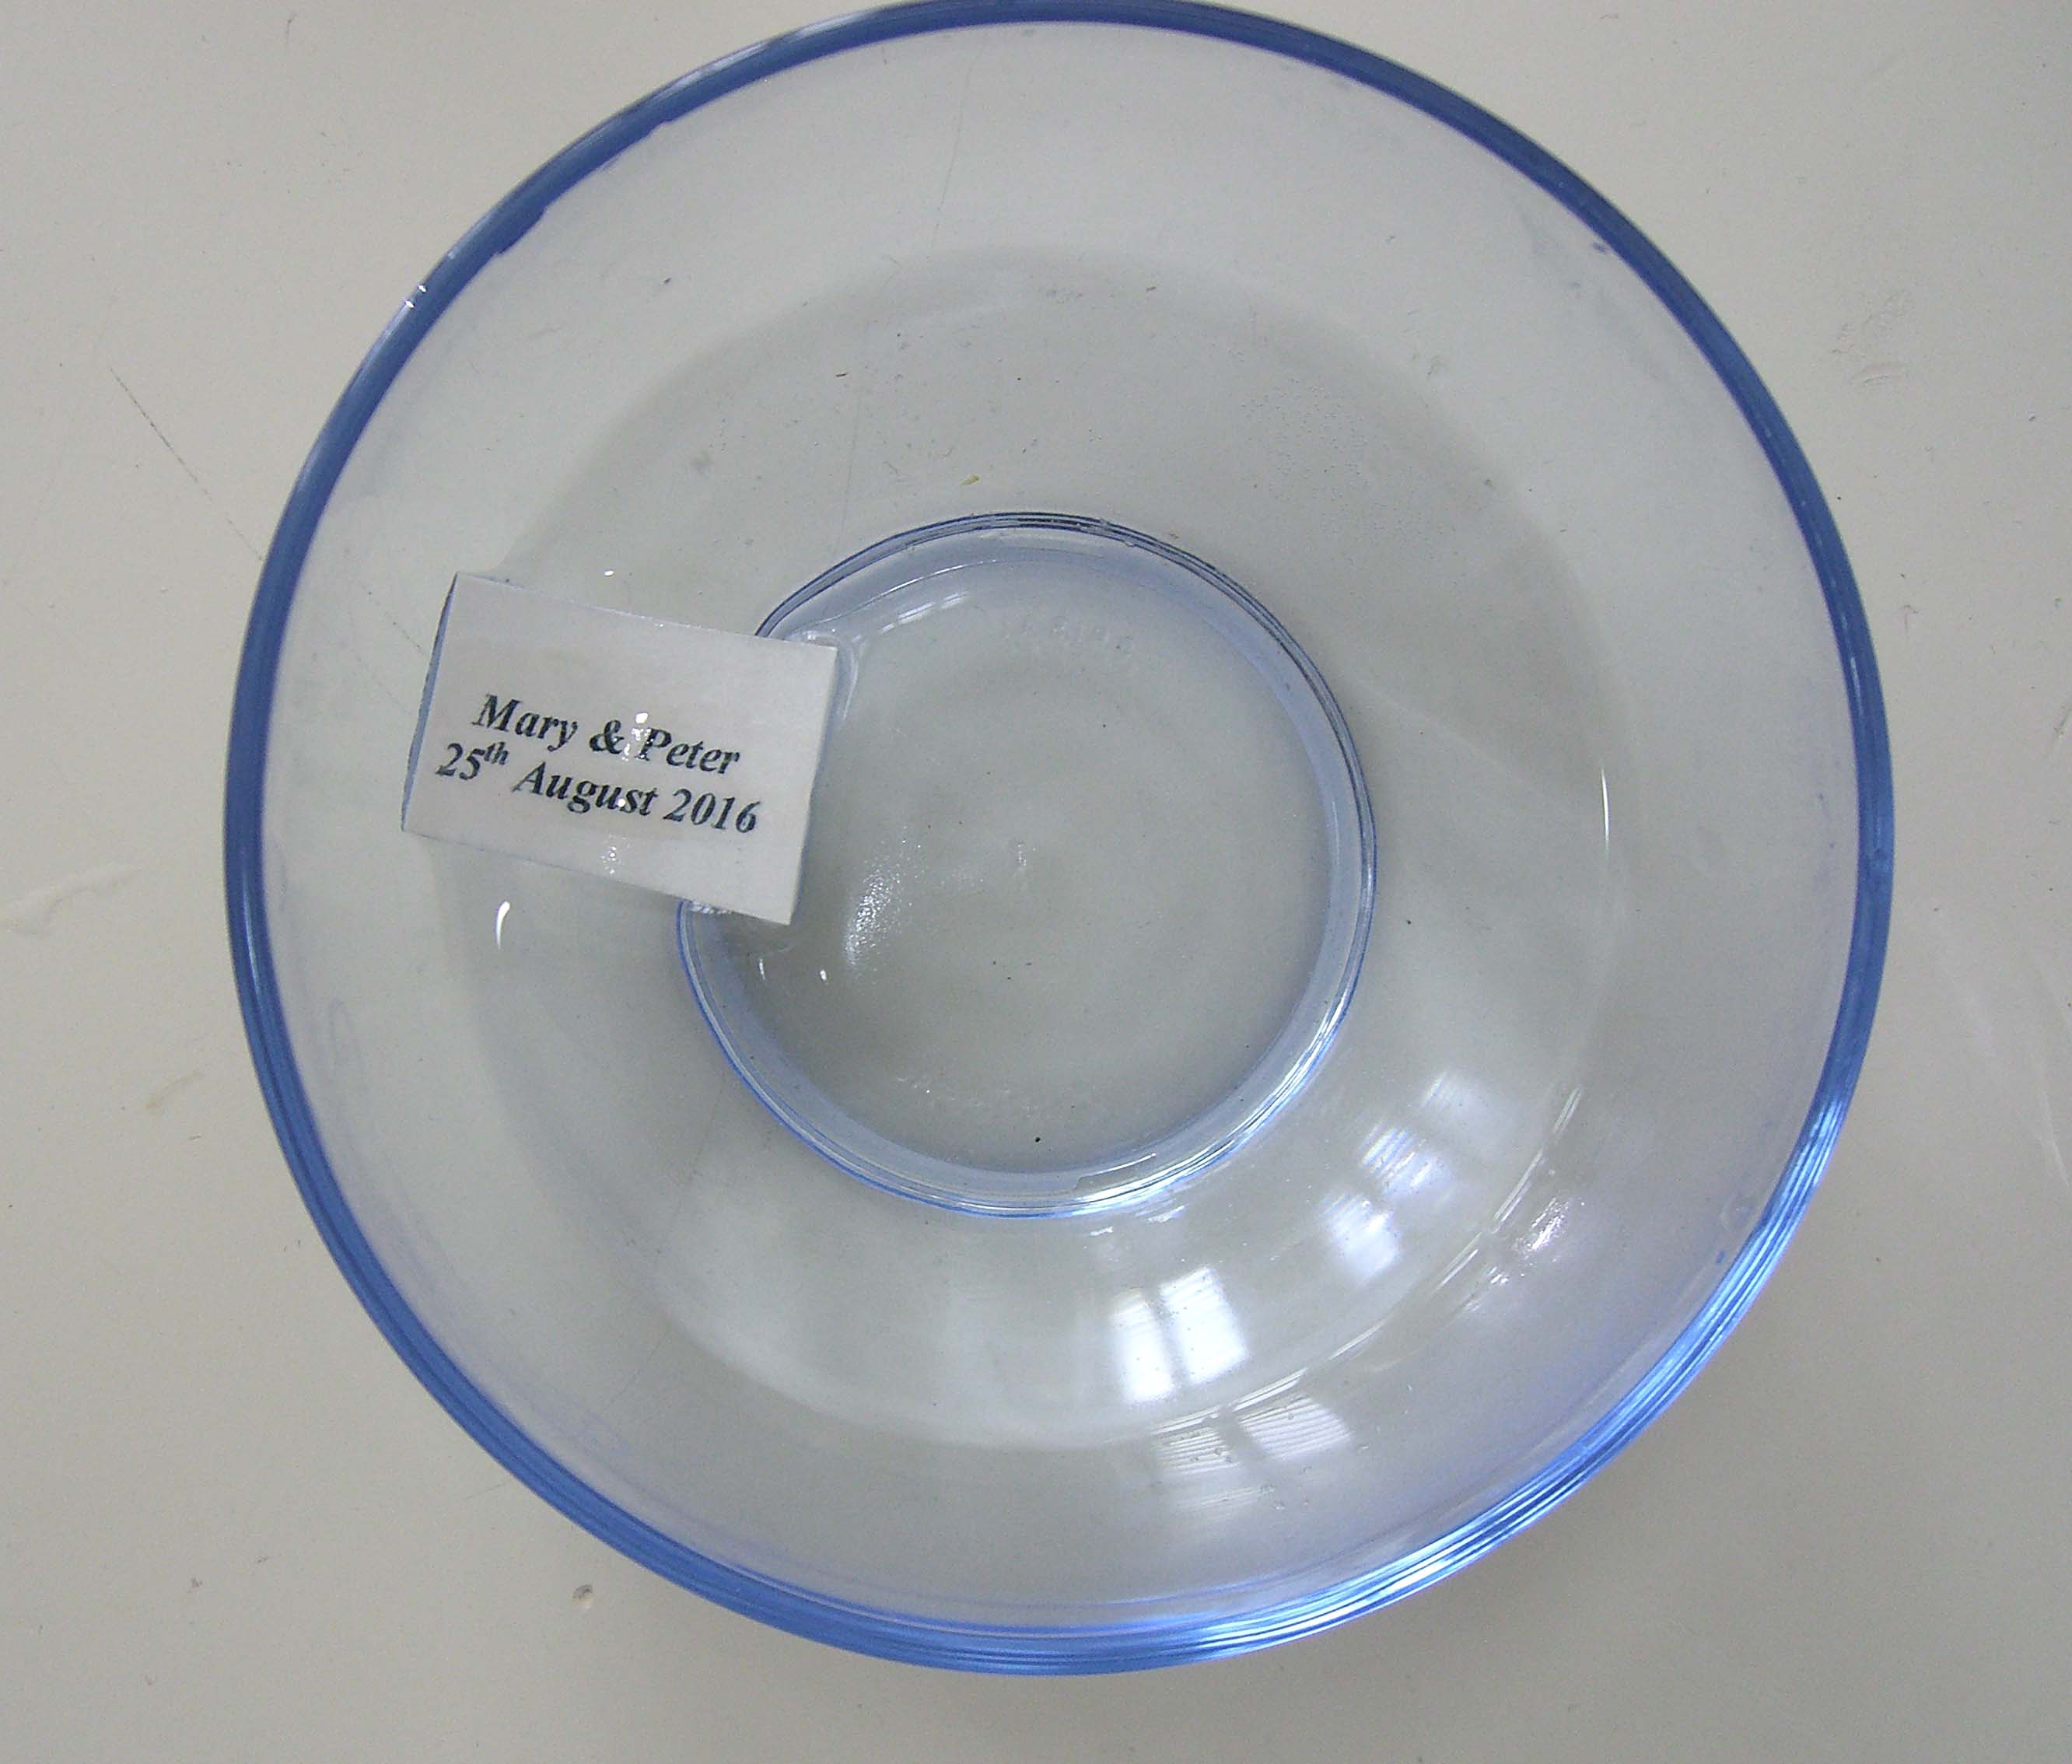
i)   Place the glass in a bowl of warm water and wait until it has heated up a little, This is to prevent the glass cracking in the next step.
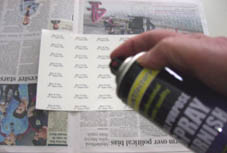
ii)  Take the warm glass and and pour a really hot water on top on the wax residue.
candle end in glass        wax floating to top       candle end
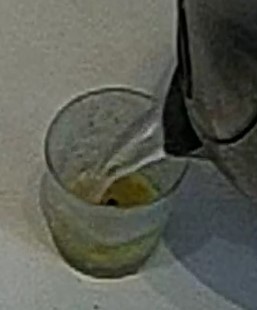
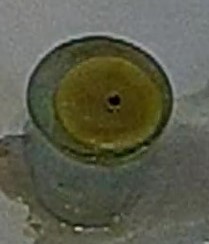
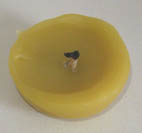
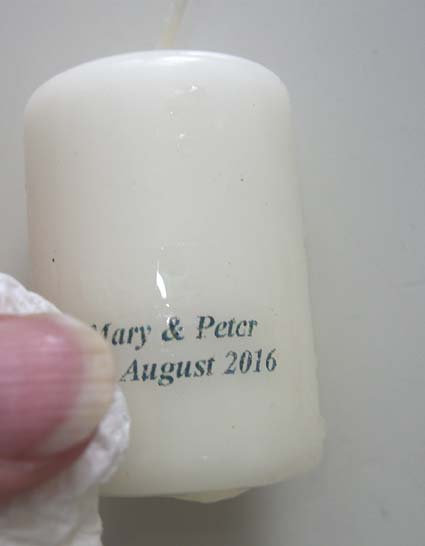
The next bit is fun!    Watch as the wax left in the gently floats  to the top of the glass.  You may have to prod the edge slightly first to encourage it to rise.  Remove the wax stub with a spoon and place on a kitchen towel to dry.
b. Make your wax melt.
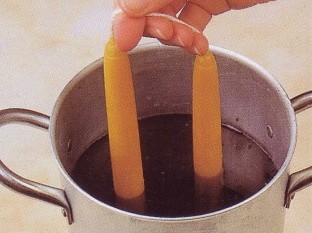
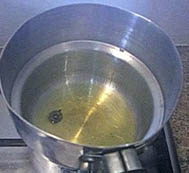
i)  Melt the wax residue in a  double saucepan. Remove the wick sustainer and what remains of the wick.
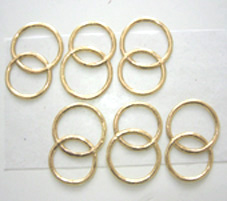
ii) Pour into your  mould.  You can use ice moulds, as I have done here, or bun tins or foils.
   melting the candle endtin foil mould for floating cand  Pouring wax into mould
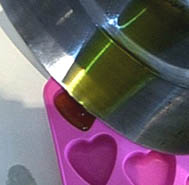
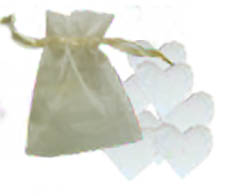
iii) Wait until fully set and then  remove it  from the mould.
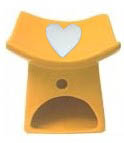
iv)  Place on your oil burner, place a T light in the oil  burner, and light it.

c.  Enjoy your favourite scent again as it refreshes your room.  It is such a waste throwing all that expensive residue away!   Here it the wax melt on our yellow oil burner now on sale at only £2.00!
oil burner with wax melt

Do watch our video on how to do it!


Wax tarts and how to make and melt them

The easiest, quickest way to fill your room with wonderful fragrance.   Basically they work like scented candles without a wick!   They melt fast in oil burners and the scent is diffused quicker then when using candles.  You can vary the strength of the scent by the amount you choose to put in.  Prettilly packaged they make a  wonderful gift. This step by step guide will teach you how to make small white hearts.  Ideal packed in a small box for organza bag for wedding favours!
Heart wax melts

So you will need:-
1. A rubber heart ice mould ( bun tins work well also).
2. A cooking thermometer
3. A double saucepan or bowl over a saucepan to melt the wax in.
4. A metal jug to pour in the wax.
5. Wax and stearin mix (put in 10% extra stearin if you want them extra white).
6. Candle perfume.
   pouring wax melt   double saucepan for wax

Making the Wax Melts

1.Melt about 200 gms of  of wax and stearin mix in a double saucepan or in a metal bowl over a saucepan of hot water. Heat to 180F.
2. Add a few drops of camdle perfume.Stir gently.
2. Ladel the moten waxwax from into your jug.
3. Fill the wax hearts.
4. Wait for them to set, and then simply pop them of of their mould.

About Wax Melts
Candle manufactures invented was melts, also known as wax tarts.   Place them in oil burners  light a 4-5 hour Tea light and their perfume will quickly infuse your room.  They are very safe to use and safer than using oil and water in a wax burner.
Make wax melts from your left over scented candle ends.  I am shortly going to write a blog about how to easily remove old wax from scented candle glasses – such a shame to throw that wonderfully scented wax away!


How to make solid beeswax candles

Beeswax candle are much sought after and make wonderful presents.  I love their
smell and their smooth texture.  Pillar candles, unlike dinner candles, will really give off that wonderful honey smell as there will be a pool of wax to diffuse the scent.  Tapered candles give off much less scent.
beeswax handipped                 handipped beeswax        beeswax handipped

Firstly, Handipped beeswax candles:
The drawback of making these is that you have to have quiet a lot of beeswax, which is expensive.   The great thing about making them is that when you use beeswax you will get thicker layers than when you use paraffin wax.  You will need a tall dipping can and some 1″ wick.  (You can use an oil tin such as an oil tin; cut off the top and make sure it is thoroughly clean. Put tape round the top of the can to ensure that it is safe and you cannot cut yourself on its edge.  Then place in a water bath. NEVER heat wax directly over your heat source).  Each candle will need between 7 and 10 dips.   Dip them with a smooth arm action.  Leave time between dips for the wax to cool. When finished hang them up so they are separated.  They may bend if you do not make sure that they completely set before standing them upright.

How to Make Solid Beeswax Pillar Candles
                                               Solid beeswax pillar candle

Beeswax does not contract and can be impossible to get out of the mould.    However use cooking oil which is a natural release agent and works wonders in steel or plastic moulds. Rub a thin layer onto the inside of the mould with a soft, lint-free cloth   Stand the mould upside down on an old newspaper to let the excess oil drip away. Give it a final rub with a soft cloth.   Alternatively I have used cooking oil sprays quite effectively.   Set your mould up using a wick 1/2 larger than usual. Then set your mould up in the usual way.  Heat the beeswax in a double boiler and pour your candle at approximately 185 F.  When you top it up make sure that you are very careful not to top it up over the original level of the candle.
NB You can add stearin to the beeswax to make it harder if you wish.  

How to make beeswax candles in a rubber moulds.

Rubber mould are very well suited to beeswax and of course you can extract them easily.  You will find instructions for using rubber moulds here

How to make beeswax candles in glass dinner candle moulds
We suggest you dont try this, as the candle may be very difficult to remove. Handip instead!

.


How to make your own wedding favour candles

A1smallgoldringThis is really easy, and economical!  This shows a 60 x 40mm bulk buy candle, which work out at just 38p each, a gold applique wax ring which costs .65p and two sheets of water slide decal paper which will add £2,00 to the total, making a wonderful personalised wedding favour for only £1.23!!  So- lets begin….

The first thing to do is to print out your labels using an ink jet printer and our decal paper.
For those of your who are not that computer literate open up Word. Then go to file and start a new document.  Then click the mailing tab at the top, then the label icon.  Choose the size of the label you need, how many rows and columns.  Now type in your names and the wedding date in one label and centre it. Then all you have to do is copy and paste to fill out the entire sheet.

Laels for Wedding Favours   lanbels for candle wedding favours cutting the water slide transfer  spraying varnish deca                                 

soaking-the-decal   decal onto candle  smoothing-the-decal-on-candlewax-gold-ring


Once printed spray the sheet with any matt varnish.  We do not sell this but you can buy it in any craft shops.  I buy mine from Amazon and it costs around £4.00 a can.  Wait until the varnish is dry (the purpose of the varnish is to prevent the ink smudging). Then soak the label in a bowl of water for a few minutes. Take it out of the bowl and  gently slide it off its backing onto the candle.  Smooth out any bubbles or creases gently with a soft cloth or tissue.

Ok, that is  it apart from gently taking a gold ring wax applique  from its backing and pressing it  firmly onto the candle.  They will look really prettyon your weddking tables either on your own, or you can put them in a small organza bag.

One last point!  Of course you  do not have to use the smallest candle, any size will do.  Also the same technique looks great as a wedding table centerpiece!

Please Visit our Candle Wedding Favour Page