Monthly Archives: June 2016

Citronella Candles

Citronella Candle Pots

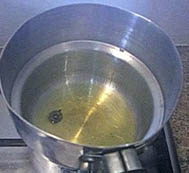
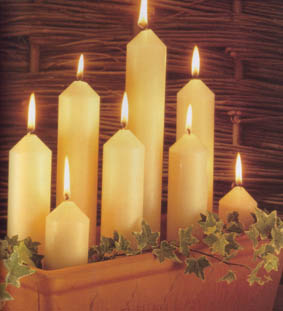
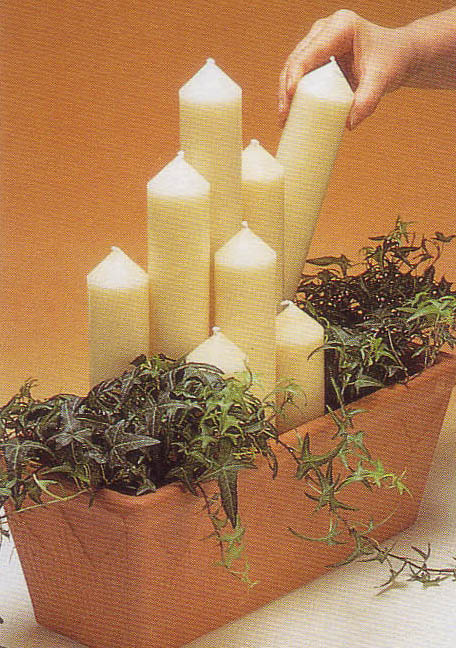
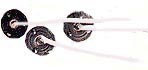
Citronella oil helps repellent insects, although it should be said that although they help keep the mozzies away they are only about 45% effective and should be used with other repellents if you need to be 100% sure of not getting bitten!    Citronella candles are blended with oil from citronella, a grass native to Asia.
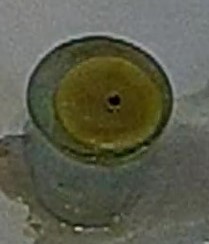
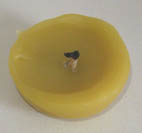
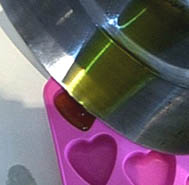
Citronella candles are usually yellow, citronella is yellow and some manufacturers companies dye their candles.  They have a strong lemon like scent which is not unpleasant.    We do not recommend any of our citronella candles for indoor use.  The scent tends to be very strong and all our Citronella products are designed to be used in your gardens, patios etc.citronella t lights

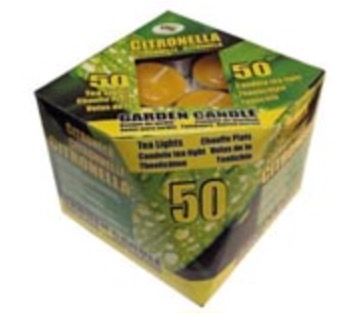
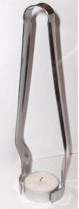
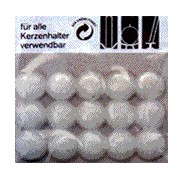
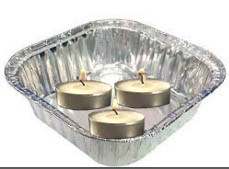
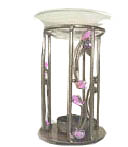
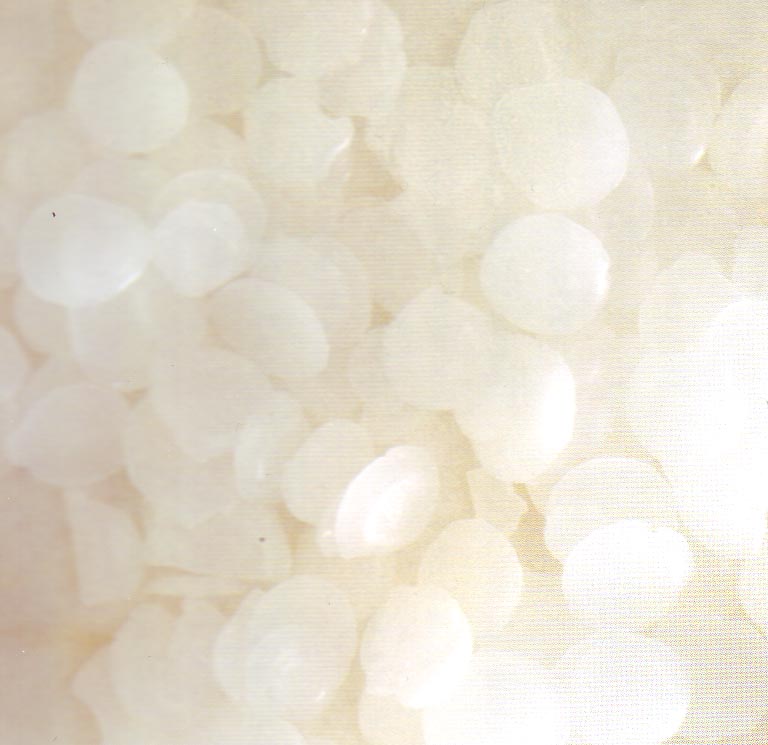
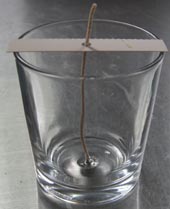
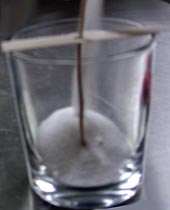
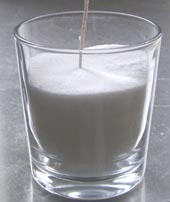
If you are having lots of people around or are trying to keep mosquitoes away from an outdoor event such as a wedding we suggest using several candles. A really effective way of doing this is to use citronella T lights we sell in bulk discount cases of 50 for only £7.25   You can use any non flammable container, jam jars, or our small basic votive holder.

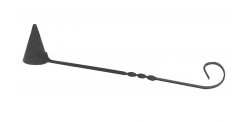
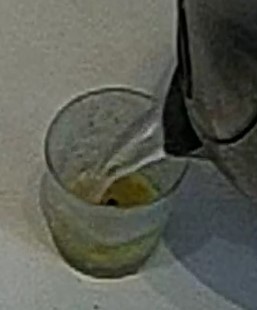
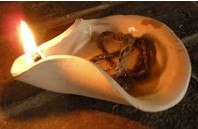
I recently gave a party and used old jam jars with citronella t lights which I hung from the branches of a tree. I used a mat ribbon which I tied tightly round the neck of the jar and a loop of green plastic covered garden wire. I then twisted the ends of the wire to make a secure hanging loop.Candle jam jar

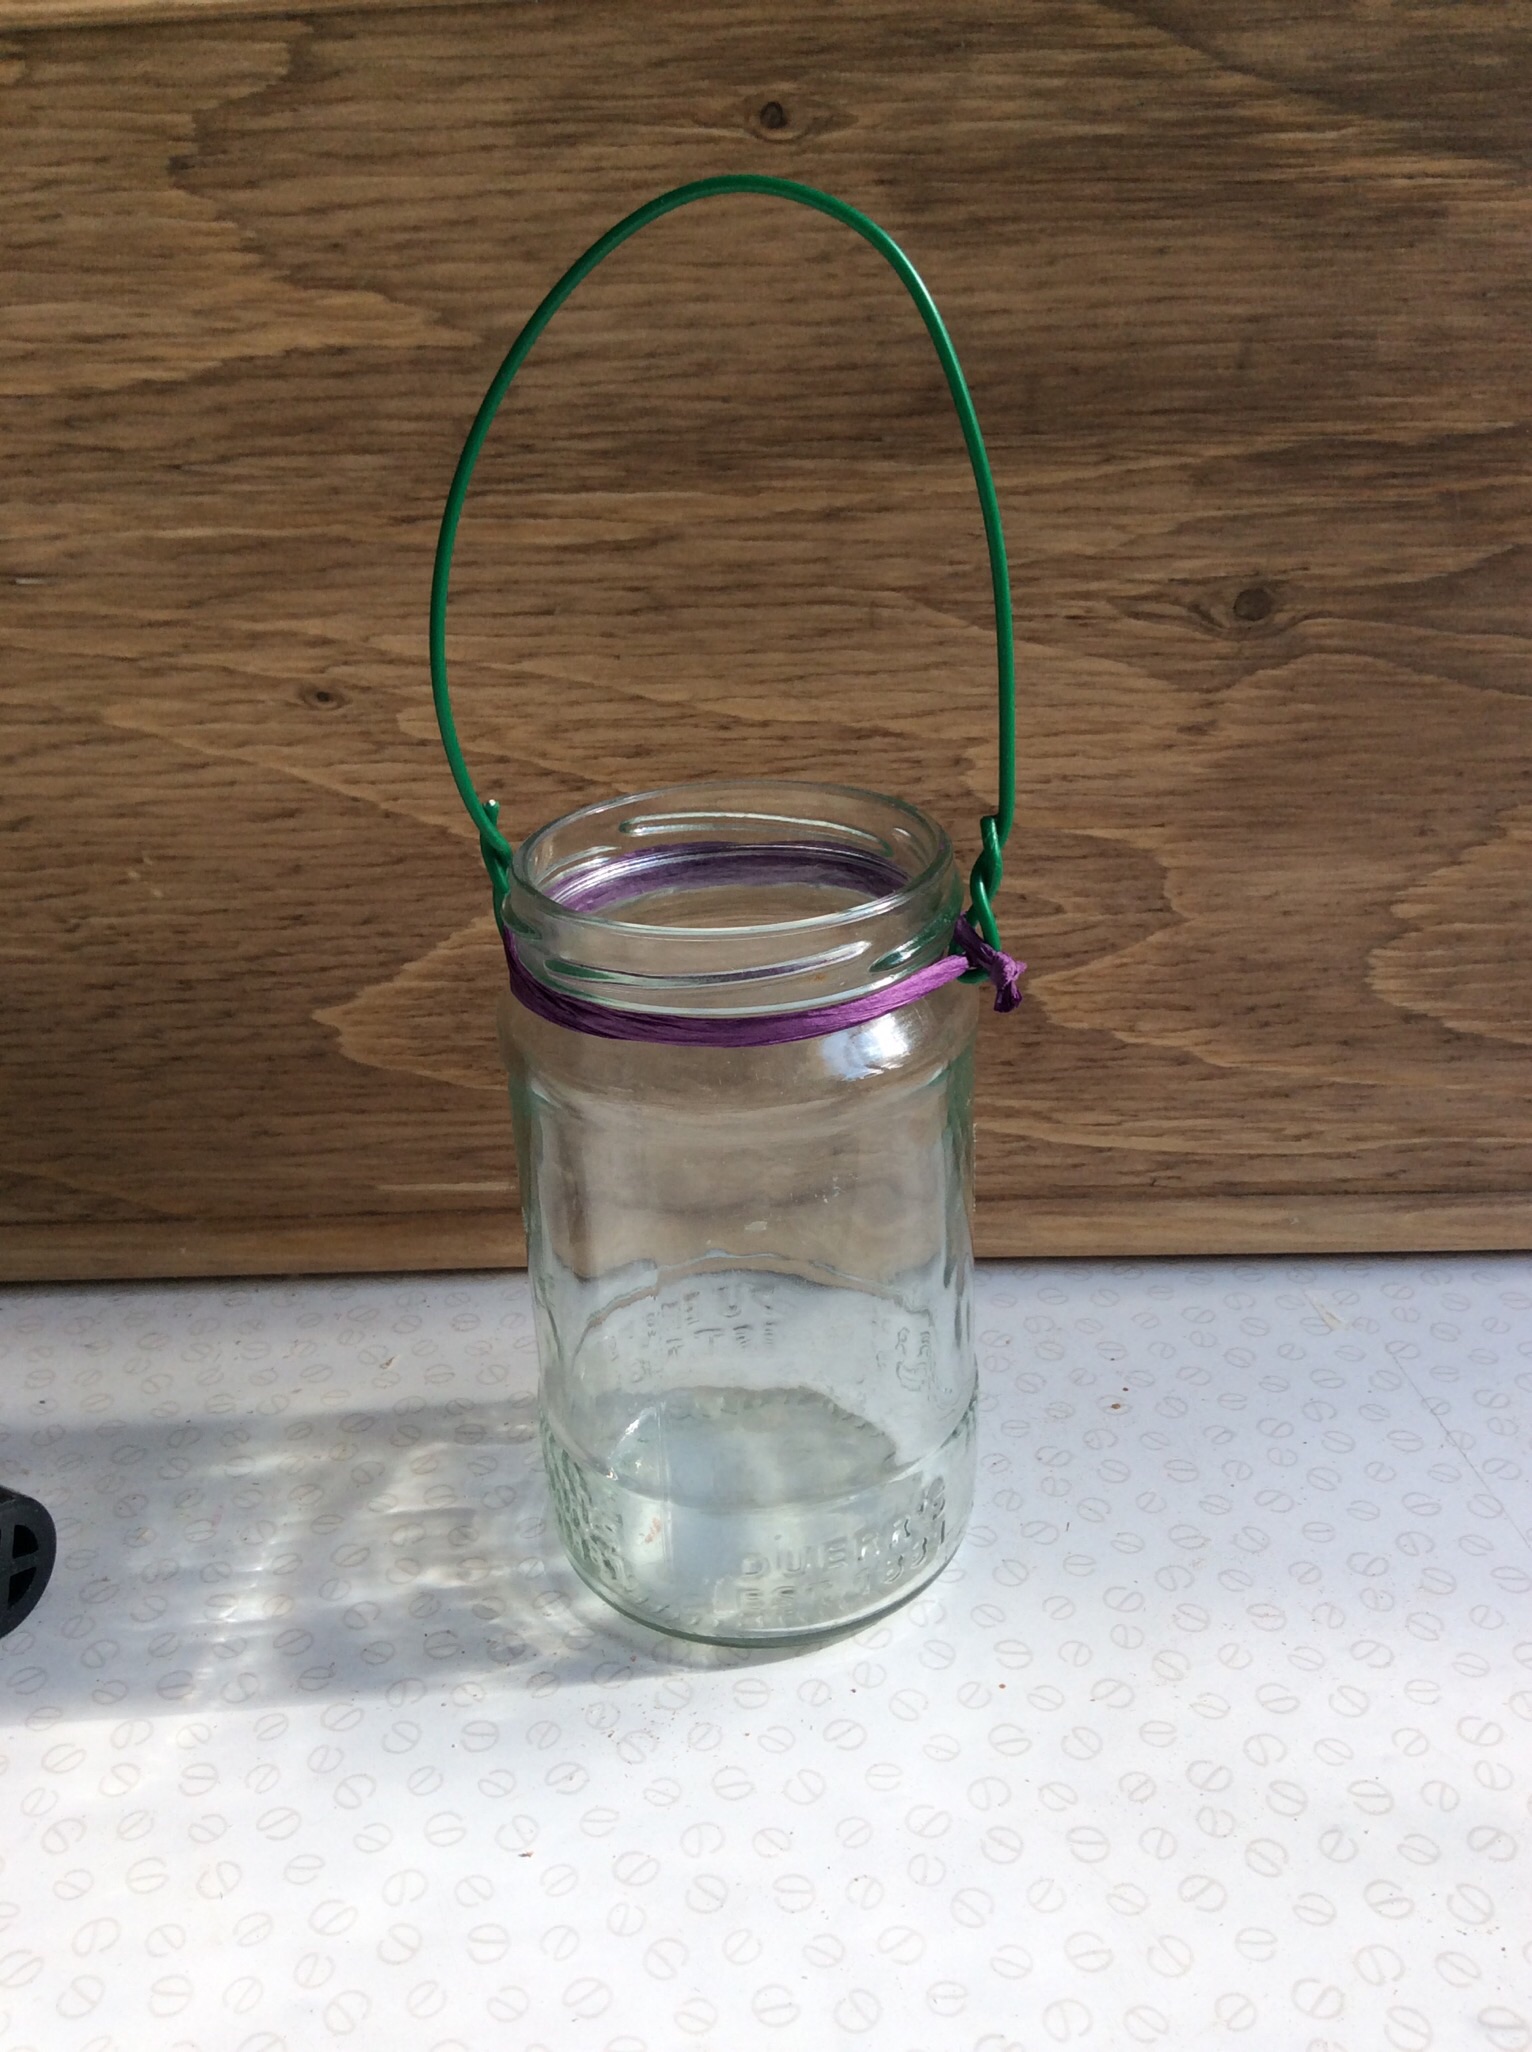
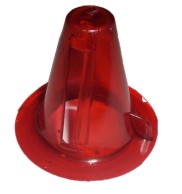
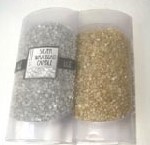
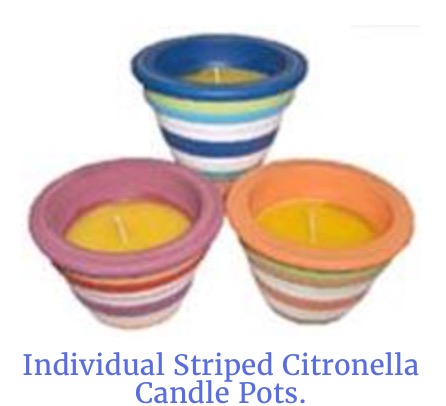
We also sell filled hanging citronella glasses a small filled votive holder for only .85p  plus some other filled pots so we have a great choice.

So brighten up your barbecues and enjoy the outdoor life with less chance of  your events being plagues by those irritating biting mosquitos.


Using Candle Accessories

We all have times when your candle does not fit into your holder, when dinner candles drip, when an old T light seems impossible to remove.  We have several accessories which make it easier for you.
1.  Candle Tongs. A brilliant gadget. A long tong for lifting  T lights out of tall containers.
T light tong
2.  Drip rings.  We love these, they look good and are a godsend when you have no alternative but to burn candles in a bit of a draught.
candle drip ring
3.  Candle Sharpener. Another useful item, use if your dinner candle is too thick for its holder.  It works like a giant like a pencil sharpener.
candle sharpener
3. Candle Gutterer or Follower,for use with straight sided dinner candles (like our classics candles with self fitting bases).   It follows the candle down as it  burns providing a protective shade for the flame, again ideal when you cannot avoid burning candles in a draught.
candle gutterer
7. Gas Lighters, much better than matches as it ensures you do not leave match ends in your candle.   It is long with a rotatable lighting end, perfect for candles when it is hard to reach the wick.
8. Candle Lighting Tapers.  These have been around for years of course.   A 30cm taper, again useful for lighting candles in awkward places.
8. Snuffers. Snuffers are really useful for putting out dinner candles and candles that are out of reach.  Blowing a candle out if not really a good idea, you can inadvertently blow molten wax over your clothing or surfaces.  Of course the best way to put a pillar candle out is to dip the wick back into the pool of molten wax and bring it up again making sure it is centered.
candle snuffer
9. Candle Flower Rings.   They sit prettily at the base of the candle and come in several designs.
candle flower ring

10. Stickum  Small blobs of soft wax that you put under a dinner candle to make them sit securely in their holder.
stick-um


How to save old wax and make wax melts.

So you have spent a fortune on that special scented candle, and now you are left with a useless glass with some wax at the bottom.  It is really easy to remove the wax and make wax melts from the residue.
You will need
1. A spent scented candle in a glass.
2. A double saucepan or metal bowl over a saucepan of hot water.
3. A mould for the wax melts, anything will do ice cube tray, bun tin or cake tin.
1st Step.
a.  Remove the old wax.
i)   Place the glass in a bowl of warm water and wait until it has heated up a little, This is to prevent the glass cracking in the next step.
ii)  Take the warm glass and and pour a really hot water on top on the wax residue.
candle end in glass        wax floating to top       candle end
The next bit is fun!    Watch as the wax left in the gently floats  to the top of the glass.  You may have to prod the edge slightly first to encourage it to rise.  Remove the wax stub with a spoon and place on a kitchen towel to dry.
b. Make your wax melt.
i)  Melt the wax residue in a  double saucepan. Remove the wick sustainer and what remains of the wick.
ii) Pour into your  mould.  You can use ice moulds, as I have done here, or bun tins or foils.
   melting the candle endtin foil mould for floating cand  Pouring wax into mould
iii) Wait until fully set and then  remove it  from the mould.
iv)  Place on your oil burner, place a T light in the oil  burner, and light it.

c.  Enjoy your favourite scent again as it refreshes your room.  It is such a waste throwing all that expensive residue away!   Here it the wax melt on our yellow oil burner now on sale at only £2.00!
oil burner with wax melt

Do watch our video on how to do it!


Pond Candles

One of the most exciting ways of making a venue unique is to use candles on a lake or a pond.   You get wonderful reflections  in the water and I have seen them at outdoor wedding receptions where they make a wonderful addition to the atmosphere.
floating pond candles

There are three ways of doing this:-
1. Buy pond candles online.  These are especially large floating candles made especially for use on water.
2. Make your own!  You will need
a. A mould. Use tin foil cake tins, or a small metal bowl

metal bowl for floating candle tin foil mould for floating cand

b.  A cooking thermometer
c.  Double saucepan or metal bowl over a saucepan of wagter
d.  About 200 gramms wax and stearin mix, or 180gms of paraffin wax with 20gms of stearin added.
e.  Wick, the size will depend on the width of the mold you are using but I would suggest about 60mm or 2.5″.
Method.
a.   Heat the wax to 180F in your double boiler or metal bowl over water.
b. Take a length of wick and dip it in the wick, take it out and pull it straight.
This is called ‘priming’ the wick and will ensure that it is ready waxed and stiff.
c.  Pour about 10mm or 1/4″ of wax in to the base of the mould.  Wait until it is almost set then push one end of the wick down into the centre of the wax.
d. Place a stick of across the top of the mould (a chop stick is ideal), and fold the wick gently over it.
e.  Pour in wax to the top of the mould at 180F.
f.   When it is nearly set prick the surface to expose any air bubbles.
g.  Top it up with hot wax at 180f.
h. When completely set take it out of the mould.
3. Float T lights in foil containers.
T light floating foil container

So light up your water and your event!


Use Church Candles Outside

Because church candles are made of harder wax and have larger wicks than pillar candles they are ideal for burning outside.  Of course it is really important that they are placed securely into a container.  I had great fun designing this project which uses church candles in a terracotta plant pot to give a dramatic and safe display.  This project is ONLY suitable for outside use, please do not try it inside as church candles tend to smoke unless their wicks are kept scrupulously trimmed, and burning several of them together is not a good idea indoors.church candles alight in potYou will need:- 
1. A selection of 7 2″ diameter church candles. I chose 6″ x 2″, 9″ x 2″ and 12″ x 2″.
2. An oblong terracotta pot
3. Some ivy.
4. Some sand (earth will do just as well).
1st Step

church candle with ivy
Pour about 15 cm of earth or sand into the terracotta pot. You need a decent depth to give height and also to ensure that the candles are firmly fixed.
2nd Step

terracotta pot for candles
Damped the earth or sand with water.  This will ensure  that the ivy does not dry out and that the candles will sit securely.
3rd step
ivy for church candles
Place some ivy  cuttings in the soil or sand. It looks good when you leave some draping over the edge of the pot.
4th Step
placing church candles in pot
Place the candles in the pot. This picture is a little misleading as the candles would really be at least 2cm apart as in the picture at the top of this page.  It does’t matter so much of course when candles are being burnt outside, but if placed too close together they will drip horribly!
Please make sure that you put the post somewhere where it will be safe from being knocked over, away from inflammable material hanging leaves) and that the display is not within the reach of children.

Finally light the candles and brighten up your barbeque!


Wax tarts and how to make and melt them

The easiest, quickest way to fill your room with wonderful fragrance.   Basically they work like scented candles without a wick!   They melt fast in oil burners and the scent is diffused quicker then when using candles.  You can vary the strength of the scent by the amount you choose to put in.  Prettilly packaged they make a  wonderful gift. This step by step guide will teach you how to make small white hearts.  Ideal packed in a small box for organza bag for wedding favours!
Heart wax melts

So you will need:-
1. A rubber heart ice mould ( bun tins work well also).
2. A cooking thermometer
3. A double saucepan or bowl over a saucepan to melt the wax in.
4. A metal jug to pour in the wax.
5. Wax and stearin mix (put in 10% extra stearin if you want them extra white).
6. Candle perfume.
   pouring wax melt   double saucepan for wax

Making the Wax Melts

1.Melt about 200 gms of  of wax and stearin mix in a double saucepan or in a metal bowl over a saucepan of hot water. Heat to 180F.
2. Add a few drops of camdle perfume.Stir gently.
2. Ladel the moten waxwax from into your jug.
3. Fill the wax hearts.
4. Wait for them to set, and then simply pop them of of their mould.

About Wax Melts
Candle manufactures invented was melts, also known as wax tarts.   Place them in oil burners  light a 4-5 hour Tea light and their perfume will quickly infuse your room.  They are very safe to use and safer than using oil and water in a wax burner.
Make wax melts from your left over scented candle ends.  I am shortly going to write a blog about how to easily remove old wax from scented candle glasses – such a shame to throw that wonderfully scented wax away!


Oil Burners

Oil burners went out of fashion for a while, but seem to be regaining their popularity.    We are really pleased, as they are great not only for diffusing scented oils but also for gently melting scented wax melts.  We are having a grand SALE of oil burners at the moment and several models are available at only £2,00 each!!  Some of them are on the site at 75% off!
moon oil burnerGreen Glass oil burner green glass agtomiserjewel oil burner

Use with scented or essential oils.
Pour a little water into the oil burner and drip a few drops of your oil on the water.   Place a tea light under the oil burner and the water and oil will vapourise and fill your room with delicious scent.   Choose a scent you love, lavender for relaxation, chamomile to calm you, but of course scent is very evocative and personal so what scent you love best will depend on you!
Use with wax melts or candle tarts.
Place the wax melt, also known as a wax tart, in the top of the oil burner.   Put a T light in the
base and light it.  The heat from the T light will gently melt the wax and release the scent into your room.   To clean the oil burner after use I recommend putting it in the fridge and the wax should then just fall out when it is really cold.
Using Oil Burners Safely
Never leave a burning candle unattended.  Only using a 4-5 hour T light, as a larger T light may not have enough room to burn safley. This will depend on the size of your oil burner and how much air can get to the candle.

So take advantage of our amazing offers and infuse your house with wonderful scents!


Celebrate with giant sparkler flares.

ice fountain flare

We call them celebration flares because they are perfect for special occasions.  They are also known as desert flares or ice candle fountains.  Use them at weddings, birthdays,anniversaries, surprise parties and they always produce a smile!  They are perfectly safe for indoor use, and virtually smoke free.   They burn with a really impressive stream of sparkley flame which shoots out from the silver  tube container.  Watch as they sparkle and sizzle for about 45 seconds!  Ours are high quality, easy to light and burn no hotter than a candle. They are non toxic (Namas tested, non toxic and safe around food)

They come with a little pointed plastic container at their base so you can put the directly into the desert, cake etc.. Alternatively I often wrap a baked potato in foil and place that beside the cake.
base celebration flare

How to use our Celebration Flares safely!
Mount the fountain and spiked holder firmly in the cake or dessert, preferably on a metal tray so that it is fully supported.  Do not place the fountain in soft cream or any food if it is likely to fall over when burning.
They are for use in cakes, desserts, ice creams etc, in well ventilated rooms.  They are not to be used near to or above flammable articles, table cloths, clothing, hair, glazed china or pottery where damage may result from falling particles.  They conform to European Standard EN14035-15. and burn no hotter than a candle.
Never hold the flare when it is alight, and use only under adult supervision.  The tube will remain hot after use,
Cost:-
They cost £2.50 each, and we can now offer them as a bulk discount item at £43.20 for a case of 24, which works out at £1.80 each.

To watch our video showing what the celebration flares look like as they burn please click HERE

Which wicks for oil lamps or oil candles?

Oil lamps have been used for thousands of years.   The early oil lamps used various plant based oils, olive oil is thought to have been the oil primarily used in the Mediterranean. The wick used was any fibrous material, typically linen, papyrus or other plant fibers.  Thankfully now wick are easily obtained and are made either from:-

Cotton Wick. A cotton wick will not burn for ever and will have to be replaced.  They are the most common wick used, but they do have slight disadvantages.  If the oil lamp is lit and left on until there is no oil left the wick will keep on burning.  The heat produced when it is not burning oil but itself can produce so much heat that the oil lamp may shatter.  So remember never to leave a room when a candle or oil lamp is alight.  We also sell wick which has an metal collar, 4mm in diameter in 15cm lengths. Metal collar at widest is 1.2cm and the part that goes down into the oil lamps is 5mm in diameter.  The wick  should be adjusted so that it is between 1/4″ to 1/2″ above your lamp.  Experiment with the height until you get a smooth flame shape.

                                 Cotton oil lamp wick        Wick with metal collar

Fiberglass Wick. Fiberglass is the most satisfactory wick. It used the oil efficiently and economically, is smoke free and gives a good flame shape.  It’s big plus of course is that it does not burn itself, just the oil, so does not need to be replaced.    Experiment with the height of the wick above the lamp, but for a smooth topped flame I would suggest that about 1/4″ above the top of the lamp is about right.

Indoor or outdoor use?  All our wick are suitable for both!  Except:-

Bamboo Torch Wicks  Our replacement wicks for outdoor bamboo torches.
bamboo torch wick

So enjoy your modern oil lamps, a far cry from the basic lamps used in Roman times and before!
old oil lamps old oil lamp


How to Use Candle Sand

Using our powdered wax or coloured powdered with our container wicks is the easiest way to create an instant candle.
You will need:-
i)   A suitable container.  It must be non combustable, either glass or metal.  Make sure if using a glass that it is at least 7cm in diameter.
It is very important that the candle flame does not touch the glass as the glass will shatter if the flame touches it, so do not use a container that curves in at the top.
ii)   Container wicks.       Container wicks are ready primed (that is that they have been dipped in wax so they are stiff) and fixed to a small metal disc, known as the sustainer.

container wicks with sustainer
iii) The wax.   The CANDLE SAND comes in three different types. Either our 2 kilos bags of wax and stearin mix, our five kilo bag of wax pellets of our jars of coloured or scented candle sand.
wax and stearin mix              pellated wax          GOLD AND SILVER CANDLE SAND

Ok so now you have everthing you need together!  Time to make your candle

1).  Place the wick and sustainer in the middle of the container.  Either support it with a toothpick or pencil, or  use a piece of cardboard with a hole in the center.
Container candle ready to be filled

3. Pour the wax granuals around the wick.
Pouring wax granuels into glass
4. When you have finished filling the glass cut the wick.   Shake it gently to even out the granuels.   Your candle is now ready.
glass with candle sand

5. Light your candle.  Burn it for at least 3-4 hours depending on the diameter of your container and the molten wax will seal the wax in.

Of course you do not have to use a glass.  You can adapt this idea for filling silver bowls as centerpieces for wedding tables.  Using several wicks is another great idea.   It is a really economical and pretty way to make your own candles!

Multi wick candle sand